2019.08.29
#webサイト

こんにちは。
8月も残すところわずかとなりました。
今年の夏はBBQや海にも遊びに行きましたが、何か夏らしい事をやり残してはいないかと
そわそわしている小林です。
さて、今回はWebサイトでよく見かける、ドロワーメニューの実装方法について
書いて見ようと思います。
そもそも「ドロワー」とは、引き出しといった意味の名詞になります。
普段は格納されていますが、画面外から引き出して表示させるナビゲーションメニューがそれに当たります。
パソコンのブラウザではそこまで利便性を感じられませんが、表示領域の少ないスマホやタブレットでは
とても有効的な手段ではないでしょうか。
クリックやタップでドロワーメニューを展開させる場合、jQueryを使用してプログラムを組むのが一般的だと
思いますが、今回はCSSのみでドロワーメニューを開閉させてみたいと思います。
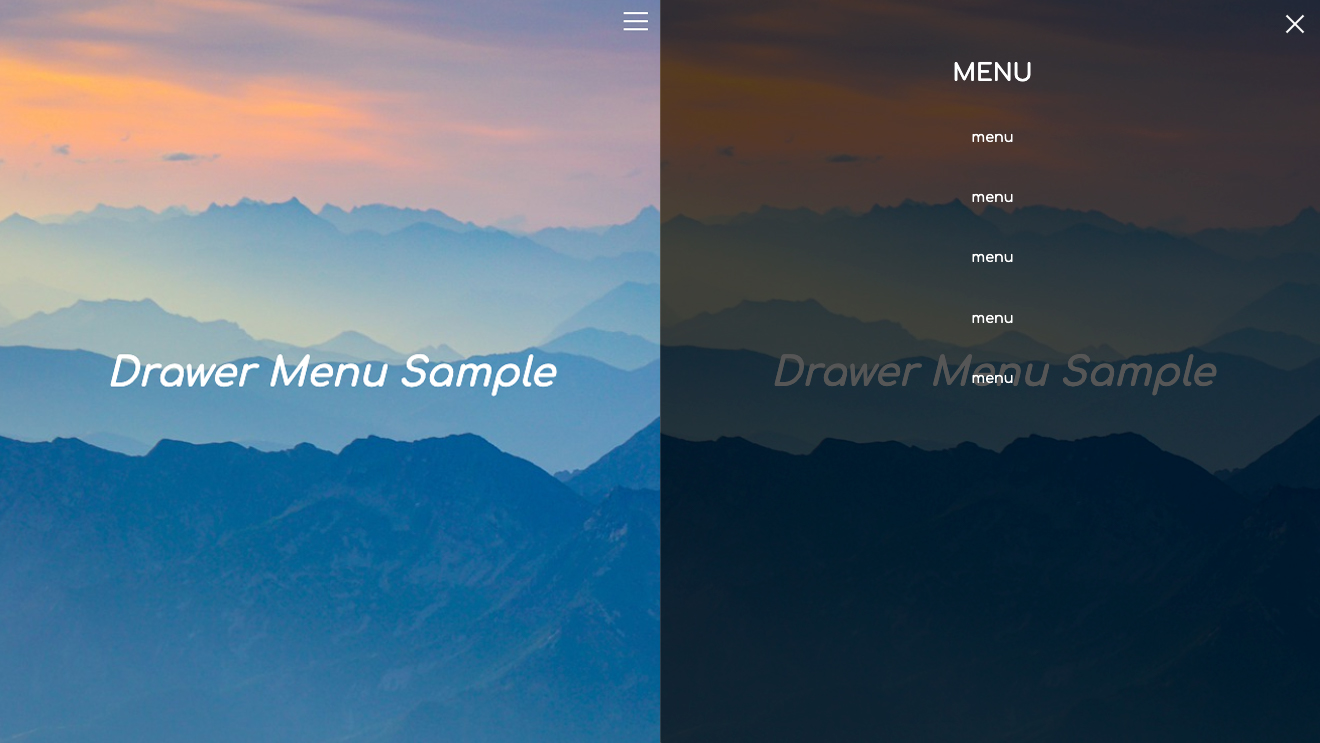
まずはデモをご覧ください。

デモ右上の3本線をクリックすることでドロワーメニューを開閉させる事ができます。
ページ全体のHTMLの構造は下記の通りです。
|
1 2 3 4 5 6 7 8 9 10 11 12 13 14 15 16 17 18 19 20 21 22 23 24 25 26 27 28 29 30 31 32 33 |
<body> <input type="checkbox" id="navTgl"> <label for="navTgl" class="open"><span></span></label> <label for="navTgl" class="close"></label> <nav class="menu"> <h2>MENU</h2> <ul> <li><a href="#menu1">menu</a></li> <li><a href="#menu2">menu</a></li> <li><a href="#menu3">menu</a></li> <li><a href="#menu4">menu</a></li> <li><a href="#menu5">menu</a></li> </ul> </nav> <div class="contents_A"> <div class="contents_box"> <h1>Drawer Menu Sample</h1> </div> </div> <div class="contents_B"> <div class="contents_box"> <h1>Drawer Menu Sample</h1> </div> </div> <div class="contents_C"> <div class="contents_box"> <h1>Drawer Menu Sample</h1> </div> </div> </body> |
<input>タグ一つに対して、<label>タグを2つ用意してあります。
ひとつは開くと閉じるの両方で、もうひとつを閉じる用としています。
これだけ言われるとわかりにくいかもしれませんが、要は常に見えているボタンと
閉じる用の<label for=”navTgl” class=”close”></label>を配置しておき、
コンテンツエリアには見えないcheckboxをそれらのスイッチの役割として置いています。
チェックボックスがチェックされる事で、スタイルが入り切りされる仕組みです。
コンテンツ部分のCSSは割愛しています。
|
1 2 3 4 5 6 7 8 9 10 11 12 13 14 15 16 17 18 19 20 21 22 23 24 25 26 27 28 29 30 31 32 33 34 35 36 37 38 39 40 41 42 43 44 45 46 47 48 49 50 51 52 53 54 55 56 57 58 59 60 61 62 63 64 65 66 67 68 69 70 71 72 73 74 75 76 77 78 79 80 81 82 83 84 85 86 87 88 89 90 91 92 93 94 95 96 97 98 99 100 101 102 103 104 105 106 107 108 109 110 111 112 113 114 115 116 117 118 |
body { margin: 0; padding: 0; } ul { list-style: none; } .contents { transition: transform .6s cubic-bezier(0.215, 0.61, 0.355, 1); } /* ++++ トグルボタン ++++ */ #navTgl { display: none; } label { cursor: pointer; position: fixed; top: 0; right: 0; } .open { z-index: 2; width: 60px; height: 48px; transition: background .5s, transform .5s cubic-bezier(0.76, 0.52, 0.29, 1.25); } .open::before, .open::after { content: ""; } .open span, .open::before, .open::after { content: ""; position: absolute; top: calc(50% - 1px); left: 30%; width: 40%; border-bottom: 2px solid white; transition: transform .5s cubic-bezier(0.76, 0.52, 0.29, 1.25); } .open::before { transform: translateY(-8px); } .open::after { transform: translateY(8px); } .close { z-index: 1; width: 100%; height: 100%; pointer-events: none; transition: background .5s; } #navTgl:checked + .open span { transform: scaleX(0); } #navTgl:checked + .open::before { transform: rotate(45deg); } #navTgl:checked + .open::after { transform: rotate(-45deg); } #navTgl:checked ~ .close { background: rgba(0,0,0,.7); } /* ++++ ドロワーメニュー ++++ */ .menu { z-index: 1; position: fixed; overflow: auto; top: 0; left: 0; width: 100%; height: 100%; padding: 6%; margin: 0; box-sizing: border-box; transform: translateX(-100%); transition: transform .5s cubic-bezier(0.33, 1.01, 0.33, 0.97); } .menu h2, .menu a { color: white; font-family: 'Comfortaa', cursive, "Century Gothic", "helvetica neue", arial, sans-serif !important; } .menu h2 { text-align: center; } .menu ul { padding: 0; text-align: center; width: 250px; margin: 0 auto; } .menu li { font-size: .9em; line-height: 1.4; } .menu a { display: block; padding: 1.4em 2em; text-decoration: inherit; transition: background .5s; } .menu li:hover:after { display: block; content: ''; width: 100px; margin: 0 auto; border-bottom: 1px solid #fff; } #navTgl:checked ~ .menu { transform: none; } |
チェックボックス自体はdisplay: none;で非表示にしていますが、2つのlabel要素と
紐づいている為、しっかり仕事をしてくれています。
:checked擬似クラスはIE9以上で使用できるみたいですが、古いブラウザを考慮しなければいけない場合は
使用を控えた方が良いかもしれません。
しかし、表示領域の少ないスマホでは確実に便利な手段ではないでしょうか。